To install Microsoft Office through the command prompt, you can use the following command after navigating to the Office installation directory:
setup.exe /configure configuration.xml
Prerequisites
Before you begin the process to install Office through CMD, ensure that you meet the following prerequisites:
System Requirements
Make sure your system can support Microsoft Office. Check the minimum hardware requirements, such as operating system, RAM, and disk space needed for the specific version of Office you wish to install.
Download Office Installation Files
To install Office through CMD, you first need to download the installation files. You can obtain the files directly from the official Microsoft website. Choose the version of Office you want, then follow the instructions to download the installation package.
Ensure CMD Access
To successfully run the installation via CMD, you must access the Command Prompt. It’s crucial to run CMD with administrative privileges which can be done by right-clicking on the CMD shortcut and selecting Run as administrator.
Preparing to Install Office via CMD
Locate the Installation Files
Once you have the installation files downloaded, it’s essential to navigate to the directory where the setup files are stored. Open CMD and use the `cd` command to change your working directory. For example:
cd C:\Path\To\Office\Setup
Replace `C:\Path\To\Office\Setup` with the actual directory path where your Office installation files are located.
Using Configuration XML File
For the installation process, you need to configure the settings using an XML file. This file specifies different parameters like the version of Office you wish to install, installation location, and languages.
Here is a sample configuration XML file:
<Configuration>
  <Add OfficeClientEdition="64" Channel="Current">
    <Product ID="ProPlus2019Retail">
      <Language ID="en-US" />
    </Product>
  </Add>
</Configuration>
This example selects the 64-bit version of Office Professional Plus 2019 in English (US). You can edit the attributes in the XML file according to your specific requirements.
Step-by-Step Installation Process
Initial Setup
To start the installation process, you need to ensure that CMD is opened with administrative privileges. This is vital as installations often require elevated permissions.
Navigate to the Installation Directory
Use the previously mentioned `cd` command to navigate to the directory of your Office installation files. Ensure that you are exactly in the directory where `setup.exe` resides.
Running the Installation Command
Once you are in the correct directory, execute the installation command using the following syntax:
setup.exe /configure configuration.xml
This command runs the setup program and uses the specified configuration file to guide the installation process.
Monitoring the Installation Progress
As the installation progresses, you will see real-time output in CMD. It can provide various messages indicating the status of the setup. Pay attention to the messages; they may alert you to any issues that arise during installation.
Troubleshooting Common Issues
Installation Fails
Sometimes, the installation may fail. Common reasons include insufficient permissions, incompatible OS versions, or a corrupted installation file. Double-check these aspects to ensure a smooth installation.
Access Denied Errors
If you encounter an "Access Denied" error, it indicates a problem with permissions. Make sure you're running CMD as an administrator and that your user account has the required privileges to proceed with the installation.
Log Files for Error Tracking
In cases of failure, examining the CMD log files for details can help track down the problem. The logs provide a comprehensive view of what went wrong during the installation process, assisting you in resolving issues efficiently.
Post-Installation Steps
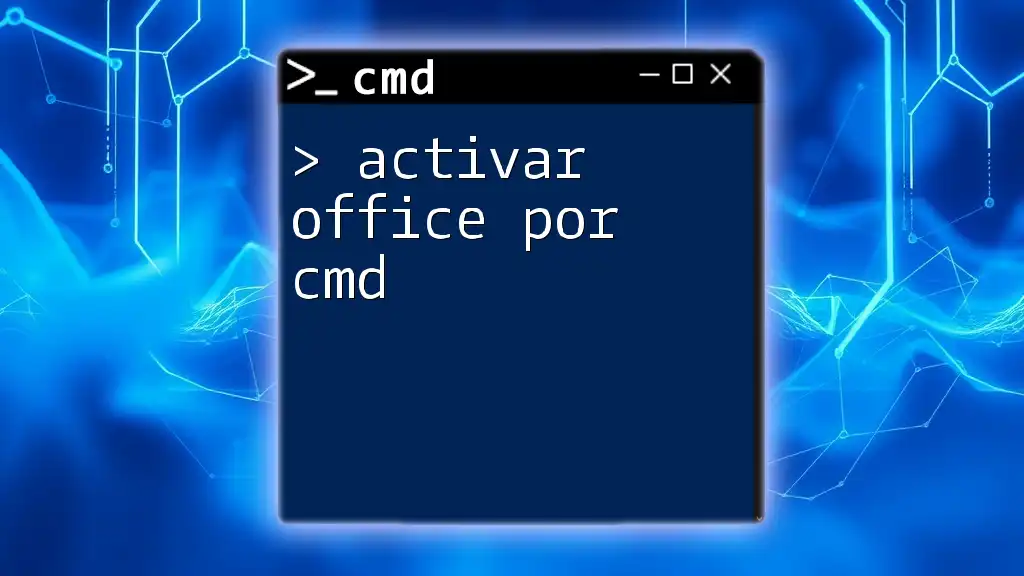
Activating Microsoft Office
After successfully installing Office, you may need to activate it. This can often be done via the Office applications themselves. Alternatively, you can use the CMD to execute activation commands, depending on the version of Office.
Verifying Successful Installation
To ensure that Office has been successfully installed, you can check through the Programs and Features section in the Control Panel. Alternatively, you can try launching an Office application like Word or Excel to verify functionality.
Additional CMD Tricks for Office Users
Creating Batch Files for Automation
You can create a batch file to automate the installation process. This allows you to streamline future installations. Here’s an example batch file script:
@echo off
cd C:\Path\To\Office\Setup
setup.exe /configure configuration.xml
By saving this script with a `.bat` extension and running it, you can easily perform installations with a single command.
Updating Office via CMD
After installation, it's important to keep your Office applications updated. There are commands available through CMD to check for updates and apply them as necessary, ensuring you always have the latest features and security patches.
Conclusion
In summary, learning how to install Office through CMD can save time and make installations more efficient, especially for advanced users or system administrators. By following the steps outlined above, you can successfully install Microsoft Office using Command Prompt, troubleshoot any issues, and even automate your installations with batch files.
Call to Action
If you’re eager to learn more about CMD and its powerful capabilities, we invite you to subscribe to our blog or explore our courses dedicated to mastering Command Prompt commands. Feel free to leave your experiences or questions in the comments section below!