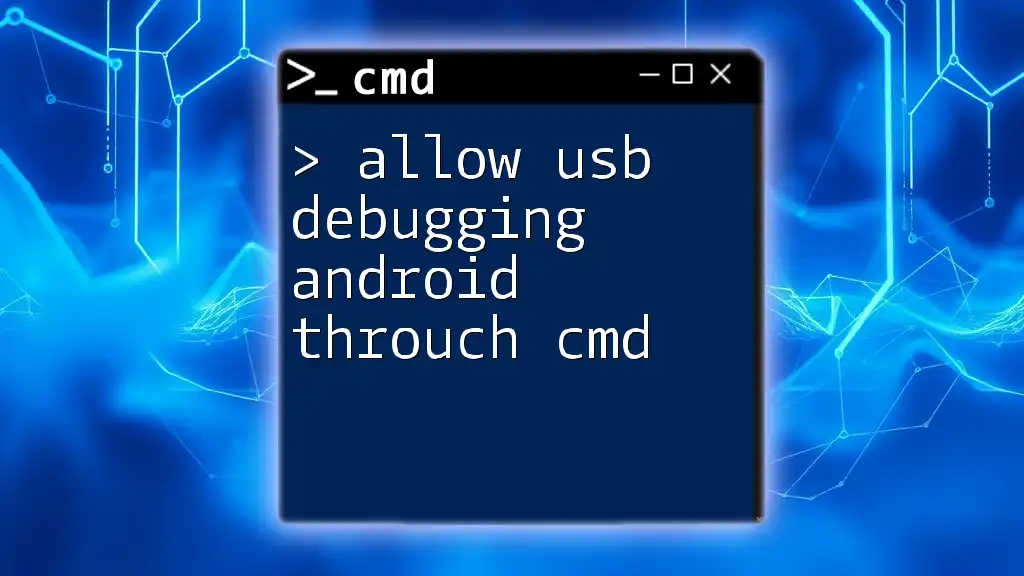
To enable USB debugging on an Android device using CMD, you need to access the device's developer options and change the setting via ADB (Android Debug Bridge) commands.
adb shell settings put global adb_enabled 1
Understanding USB Debugging
What is USB Debugging?
USB debugging is a feature of the Android operating system that allows an Android device to communicate with a computer running the Android SDK (Software Development Kit). This functionality is necessary for developers to test and debug their applications during the development process. When USB debugging is enabled, the device can accept commands, receive logs, and transfer files between the device and the computer, effectively turning the computer into a powerful tool for managing and troubleshooting Android devices.
Why Use CMD for Enabling USB Debugging?
Using the Command Prompt (CMD) to allow USB debugging offers several advantages over traditional methods, such as navigating through the device's settings. CMD can be especially useful in specific scenarios, such as:
- Locked Devices: If your device is locked and you cannot navigate the settings menu, CMD provides a way to configure settings without needing to unlock it.
- Automation: CMD allows you to script the enabling of multiple devices, making it ideal for developers or users who manage multiple Android devices.
- Speed and Efficiency: Entering commands in CMD can often be quicker than navigating a series of menus on the device.
Prerequisites
Required Tools and Environment
Before proceeding, ensure that you have the Android SDK Platform Tools installed. This toolkit includes essential tools like ADB (Android Debug Bridge) that you'll need to execute commands on your device. Additionally, make sure you have the appropriate USB drivers installed for your Android device to ensure proper communication.
Preparing Your Android Device
Enable Developer Options
To use USB debugging, you first need to enable Developer Options on your Android device. Here's how to do it:
- Navigate to Settings.
- Scroll down to About Phone.
- Find the Build Number and tap it seven times. You should see a message saying, “You are now a developer!”
Enable USB Debugging via Device Settings
After enabling Developer Options, you can enable USB debugging:
- Go back to Settings.
- Scroll down and select Developer Options.
- Toggle on USB Debugging.
While this is the graphical way to enable USB debugging, we will focus on the CMD method.
Enabling USB Debugging via CMD
Connecting Your Android Device to Your Computer
Start by connecting your Android device to your computer using a reliable USB cable. Ensure that the computer recognizes the device. You might need to change the USB mode to File Transfer (MTP) for it to be correctly recognized.
Opening Command Prompt
To open the Command Prompt on Windows, you can use the following method:
- Press `Win + R` to open the Run dialog.
- Type `cmd` and hit Enter.
You should now have a CMD window open and ready to accept commands.
Verifying Device Connection
Before proceeding, verify that your device is correctly connected. In CMD, type the following command:
adb devices
You should see a list of attached devices. If your device is listed, you are ready to move forward. If not, troubleshoot connection issues, checking your USB cable and ports.
Allowing USB Debugging via CMD
Using ADB Commands
-
Initial Setup
Make sure you have installed ADB as part of the Android SDK Platform Tools. If ADB is not in your `PATH`, you'll need to navigate to the directory where ADB is installed.
-
Enable USB Debugging
Input the following commands in CMD to enable USB debugging settings on your device:
adb shell settings put global development_settings_enabled 1
adb shell settings put global adb_enabled 1
This sequence of commands modifies the Android settings to enable developer options and ADB itself.
-
Confirm USB Debugging Status
After executing the commands, you can confirm that USB debugging is enabled with the following command:
adb shell settings get global adb_enabledIf the output returns `1`, USB debugging is successfully enabled.
Troubleshooting Common Issues
Device Not Recognized
If CMD does not recognize your device, you may encounter a common issue. Follow these steps to resolve it:
- Ensure your USB cable is functional and supports data transfer. Sometimes, charging cables do not support data.
- Try connecting to different USB ports on your computer.
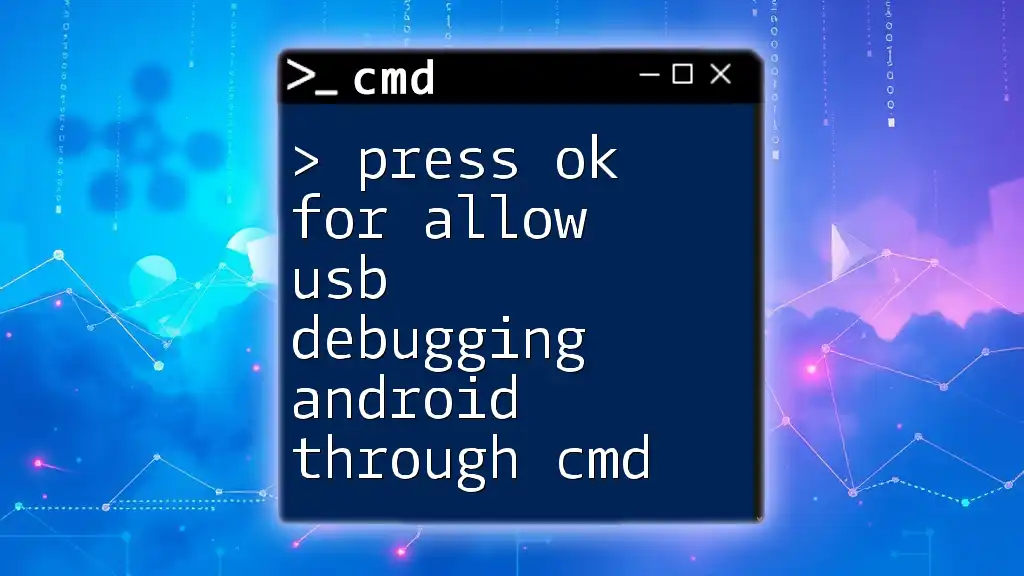
- Check if your Android device displays a prompt to authorize USB debugging. You may need to accept this dialog to establish a successful connection.
ADB Not Found Error
If you receive an "ADB not found" error, it likely means that ADB is not correctly installed or the PATH variable is not set. You can:
- Reinstall the Android SDK Platform Tools.
- Add ADB to your system PATH by following these steps:
- Right-click on This PC or My Computer.
- Select Properties, then go to Advanced system settings.
- Click on Environment Variables, find the Path variable, and add the path to the folder containing ADB.
Permitting Device from Unauthorized Access
When connecting your device for the first time, it should prompt you to grant access. Make sure to check the box to allow the computer access when you receive the prompt on your device.
Conclusion
Enabling USB debugging via CMD provides a powerful alternative to traditional methods, especially in scenarios where access to device menus is constrained. By following this guide, you can effectively enable USB debugging on your Android device through the command line, harnessing the full potential of your device for development and management tasks.
Further Reading and Resources
For deeper knowledge, refer to the official [Android Developer documentation on ADB](https://developer.android.com/studio/command-guide/adb) and explore guides on setting up Android development environments to enhance your skills in using CMD and ADB commands.
Call to Action
If you found this guide helpful, subscribe to our blog for more tutorials and tips on mastering CMD commands and Android device management. Share your thoughts and questions below, and let’s build a community of informed users together!