The `trace` command in CMD is used to display the route that packets take to reach a specified host by providing a mapping of each hop along the network path.
tracert example.com
What is the Trace Command?
The Trace command, or `tracert`, is a powerful tool designed to provide insights into the path data packets take as they travel across a network. Its primary function is to identify and analyze the sequence of hops (routers) that a packet encounters while heading towards a specified destination. Understanding how the Trace command works can be invaluable for network administrators and anyone interested in troubleshooting connectivity issues.
In comparison to other network troubleshooting commands like Ping or Pathping, the Trace command goes a step further by mapping the route your data takes, rather than just determining if a destination is reachable. This capability makes it essential for diagnosing where delays or disruptions in the network might occur.
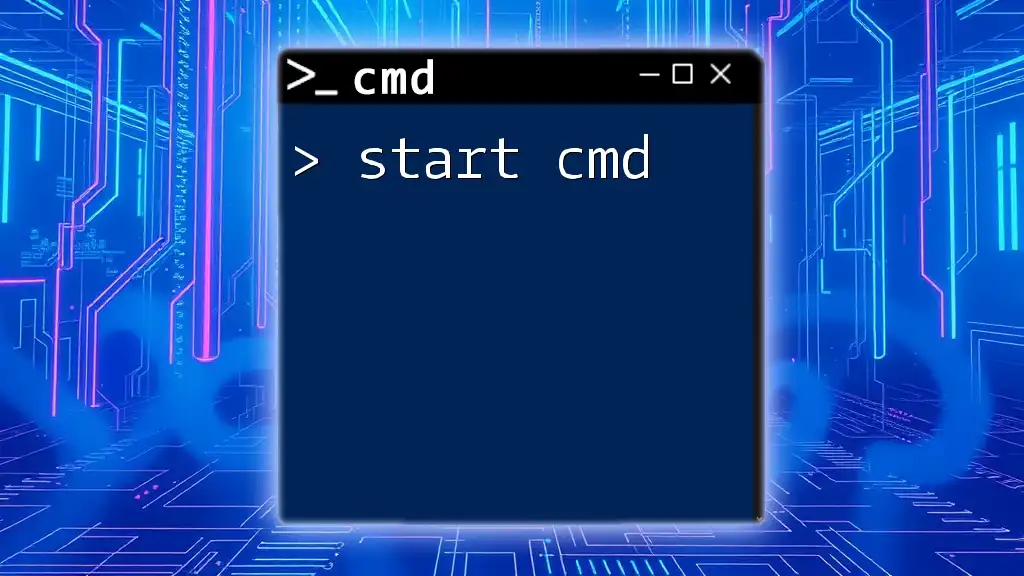
How to Access the CMD
To utilize the Trace command, you must first open the Command Prompt (CMD) on your Windows machine. Here’s how to do it:
-
Use Windows Search: Click on the Start menu and type “cmd” or "Command Prompt" in the search bar. Right-click the application and select Run as Administrator to ensure you have the necessary permissions for networking tasks.
-
Using Run Command: Press `Windows key + R`, type `cmd`, and hit Enter.
Opening the Command Prompt with administrative privileges ensures that the Trace command runs effectively and without restrictions.
Basic Syntax of the Trace Command
The general format for invoking the Trace command is as follows:
tracert [options] destination
Explanation of Parameters
- destination: This is the IP address or hostname of the server you wish to trace. For instance, `www.example.com` represents a hostname, while an actual IP address like `192.0.2.1` can also be used.
Common Options and Flags
The Trace command comes with a few helpful options:
- -d: This flag instructs the command to skip the resolution of IP addresses to their corresponding hostnames, speeding up the output.
- -h: This option allows you to set the maximum number of hops to search for; this can be particularly useful in network environments with numerous routers.
Using Trace Command: Step-by-Step Instructions
Running a Simple Trace
To run a simple trace, typify the following command into the Command Prompt:
tracert www.example.com
Once executed, you'll see a list of hops your packets travel, along with round-trip times for each hop. This output typically includes:
- Hop number: Each router along the path is numbered sequentially.
- IP address: The address of each router encountered.
- Round trip time (RTT): The time taken for packets to travel to the hop and back.
Understanding the Output
Each line in the output provides crucial information. For example:
1    1 ms    1 ms    1 ms  192.168.1.1
2    10 ms   11 ms   10 ms  203.0.113.1
3    15 ms   14 ms   16 ms  198.51.100.1
- Hop: The first column indicates the sequential hop number.
- RTT: The following three columns show the round-trip times to that hop, measured in milliseconds.
High latency at a particular hop might indicate congestion or issues with that specific router, providing a clue to where potential network problems exist.
Advanced Tracing Techniques
Tracing with Specific Options
You can optimize your Trace commands with specific options to focus on your needs:
- Using the -d option to speed up results:
tracert -d www.example.com
- Limiting the number of hops with the -h option helps in troubleshooting by narrowing your focus:
tracert -h 5 www.example.com
Tracing Across Different Protocols
The Trace command also supports both IPv4 and IPv6 addressing. For instance, to trace an IPv6 address, you can utilize:
tracert -6 www.example.com
Utilizing the appropriate protocol is essential, especially in today's diverse network environments.
Real-World Applications of the Trace Command
The Trace command plays a critical role in performing various network diagnostics:
- Network Diagnostics: Quickly identifying issues such as high latency or packet loss is simplified with tracert, allowing for efficient troubleshooting.
- Identifying Routing Problems: If a particular router consistently shows high latency or timeout errors, it may indicate a routing malfunction that requires attention.
- Analyzing Performance Issues: By tracing paths to various destinations, you can get a clear picture of where network bottlenecks may occur.
Common Issues and Troubleshooting Tips
Sometimes, running the Trace command may not yield the expected results:
- Trace command fails: Common reasons include firewalls that block ICMP packets or a host that is unreachable.
Diagnosing these issues typically involves checking server availability or firewall settings.
Best Practices for Using the Trace Command
-
When to use Trace: The Trace command is optimal for diagnosing routing problems and latency issues. In contrast, Ping is best for checking reachability, while Pathping combines features of both traceroute and ping to provide additional insights.
-
Regular Maintenance: For network administrators, regularly using the Trace command can help maintain a healthy network, catching potential problems early before they escalate.
Conclusion
In summary, understanding the Trace command is pivotal for effective network management. It provides essential insights into data flow, helping identify and troubleshoot various network issues. By practicing and familiarizing yourself with the command and its options, you’ll empower yourself to handle network diagnostics more efficiently.
Additional Resources
For further learning, consider checking out:
- Official Microsoft documentation
- Recommended articles and tutorials on CMD commands and networking best practices
By leveraging these resources, you can build a robust knowledge base about the Trace command and command line interfaces in general.