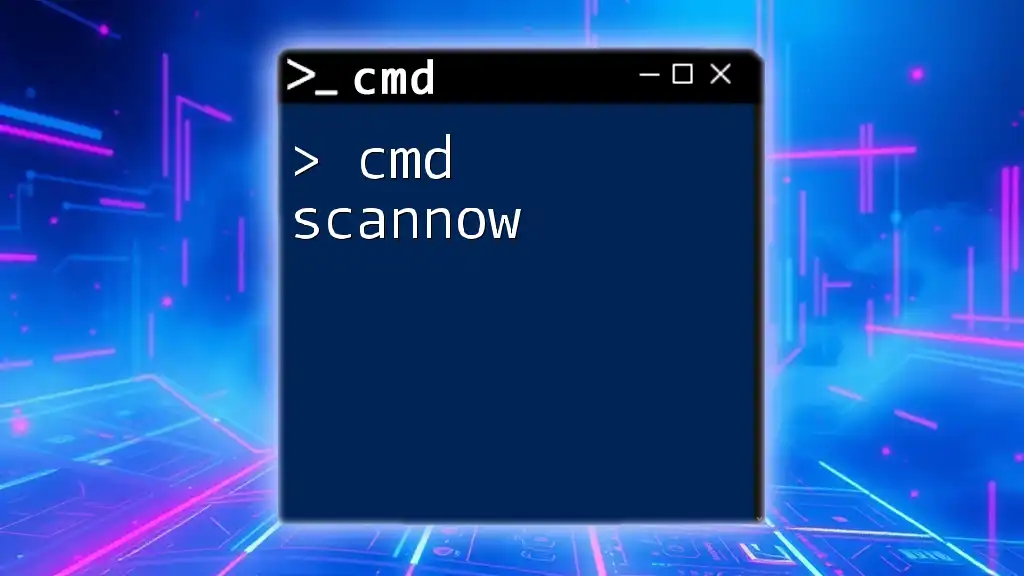
The `sfc /scannow` command is a Windows Command Prompt utility that scans and repairs corrupted system files.
Here’s how to use it:
sfc /scannow
Understanding System File Corruption
What Causes System File Corruption?
System file corruption can occur due to several factors, including:
- Software Failures: Bugs in programs or poorly coded applications can lead to files becoming corrupted during installation or execution.
- Malware Infections: Malicious software can modify or damage system files, leading to instability and errors.
- Unexpected Shutdowns: Power outages or software crashes can disrupt file writing processes, resulting in corrupted files.
Significance of Repairing Corrupted Files
Repairing corrupted files is crucial for maintaining system performance and ensuring software integrity. Corrupted files can lead to crashes, slow performance, and unexpected behavior in programs, making system repair vital for any user concerned about their computer's health.
How to Execute the Scannow Command
Accessing Command Prompt
To run cmd scannow, you first need to access Command Prompt as an administrator. Here's how you can do it:
- Using the Search Bar: Click on the Windows search bar, type "cmd," right-click on "Command Prompt," and select "Run as administrator."
- Using the Task Manager: Press `Ctrl + Shift + Esc` to open Task Manager, select "File" in the menu, then "Run new task." Type "cmd" and check the box for "Create this task with administrative privileges."
- Run as Administrator: Always ensure you are running Command Prompt with administrative rights to execute the Scannow command successfully.
Running the Scannow Command
Once you have Command Prompt open, executing the Scannow command is simple. The basic syntax to run the command is:
sfc /scannow
To execute, simply type the command into the Command Prompt and press Enter. The tool will begin scanning your system for corrupted files, which may take some time depending on your system’s speed and the number of files being analyzed.
It’s essential to note that if you’re using a version of Windows older than Windows 7, the command might differ slightly. Always check the specific Windows version documentation for details.
Interpreting the Results
What Happens After Running Scannow?
After you run the command, Windows will scan your files. The duration can vary widely—it may take anywhere from a few minutes to over an hour. Be patient and allow the process to complete for the best results.
Understanding the Output Messages
Once the scan completes, you’ll receive an output message indicating the results of the scan. Here are some common messages you may encounter:
-
“Windows Resource Protection did not find any integrity violations.”
This means your system files are intact and there are no issues. -
“Windows Resource Protection found corrupt files and successfully repaired them.”
This indicates that the command found issues and was able to fix them, restoring the affected files. -
“Windows Resource Protection found corrupt files but was unable to fix some of them.”
This message suggests that while some issues were resolved, there are still corrupted files requiring further assistance.
Understanding these results is vital in assessing the health of your operating system and determining whether further action is necessary.
Troubleshooting Scannow Issues
When Scannow Fails to Work
In some cases, running the Scannow command may not yield the expected results due to various reasons:
- Insufficient Permissions: Ensure that you're running CMD as an administrator.
- Corrupted Windows Image: If the Windows image itself is damaged, Scannow may fail.
To troubleshoot, consider the following solutions:
- Running DISM Command: If Scannow fails, try using DISM to fix the Windows image. Afterwards, run Scannow again. Here’s the command to execute:
DISM /Online /Cleanup-Image /RestoreHealth
- Performing SFC in Safe Mode: Sometimes, running the command in Safe Mode allows for a successful scan, as fewer processes are running in the background.
Advanced Scanning Options
Utilizing the DISM command effectively can resolve more complex issues. Combining both commands provides a robust method for repairing your Windows system:
- Run DISM: First, run the DISM command.
- Run Scannow: After DISM finishes repairing, run the Scannow command to verify that all system files are intact.
This two-step approach can ensure that your system is as healthy as possible.
Best Practices
Regular System Maintenance Tips
Incorporating regular maintenance practices is essential for a well-functioning system:
- Schedule Regular Scans: Aim to run the SFC command periodically to catch issues early.
- Create a System Restore Point: Before executing major changes or updates, create a restore point to safeguard against potential issues.
- Windows Updates: Keeping your operating system updated helps prevent corruption stemming from unexpected bugs.
Customizing CMD for Efficiency
For users interested in enhancing efficiency, consider customizing your CMD experience:
- Creating Batch Files: Batch files can automate repetitive commands, saving time and ensuring consistency in operations.
- Using Command History: Utilize the command history feature to quickly access previously entered commands, enhancing workflow efficiency.
Conclusion
In summary, understanding and effectively using the cmd scannow command is a fundamental skill for Windows users focused on maintaining system integrity. Regularly scanning your system can address potential issues before they manifest into more significant problems. Now is the time to utilize this auto-repair tool, ensure your Windows environment is working optimally, and enhance your command line proficiency. Share your scannow experiences and consider diving deeper into CMD functionalities through additional resources and courses!
References
For further reading, consider exploring the following resources:
- Official Microsoft Documentation on SFC
- Recommended books on Windows command line utilities and maintenance techniques
