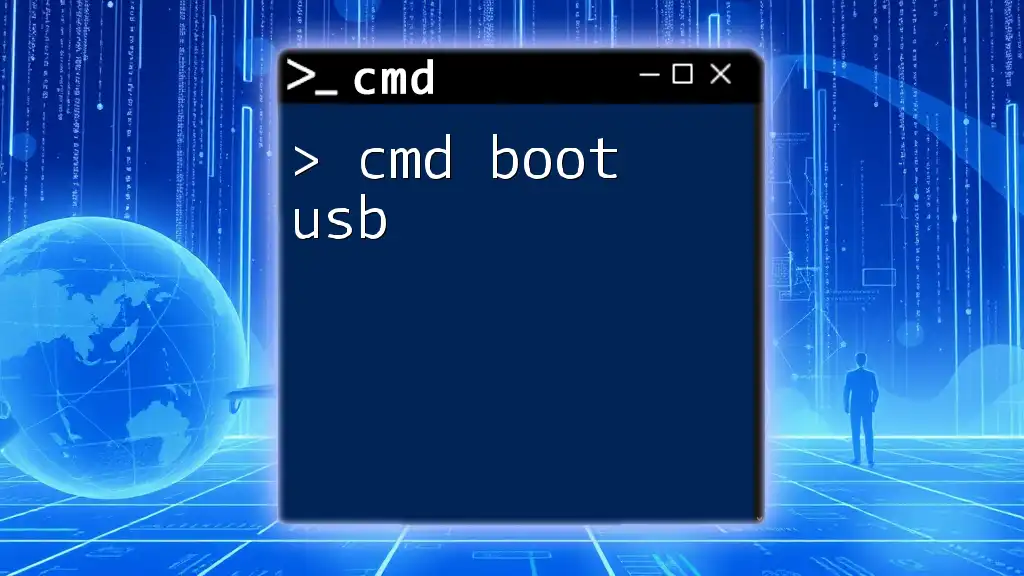
To create a bootable USB drive using CMD commands, you can use the `diskpart` utility to format and set up the USB drive properly.
Here's a basic example of the commands you would use:
diskpart
list disk
select disk X  (Replace X with the disk number of your USB drive)
clean
create partition primary
select partition 1
active
format fs=ntfs quick
assign
exit
Make sure to replace `X` with the correct disk number representing your USB drive, as using the wrong disk can result in data loss.
Understanding Bootable USBs
What is a Bootable USB?
A bootable USB is a USB flash drive that contains an operating system or recovery tools, allowing you to start (or "boot") your computer directly from it. This is particularly useful for installing or repairing operating systems, running diagnostic tools, or even troubleshooting various software issues. By utilizing command line tools such as CMD, you can create bootable USBs more efficiently compared to using disk imaging software.
Benefits of Using CMD for Creating Bootable USBs
Using CMD for creating a bootable USB provides several advantages:
- Speed and efficiency: CMD commands can execute operations faster than graphical interfaces, especially when automating tasks.
- Greater control: Users can specify exact parameters and options for formatting and partitioning their USB drives, ensuring a tailored setup.
- Customization: Advanced users can modify boot settings and configurations, adding specific drivers or files to create a customized boot environment.
Preparing Your USB Drive
Selecting the Right USB Drive
Choose a USB drive with sufficient capacity—generally, a minimum of 8 GB is advisable for most operating systems. Look for USB 3.0 or higher for faster data transfer speeds, but note that compatibility with your target machine is important.
Backing Up Data
Before proceeding to create a bootable USB, back up any important data stored on the USB drive, as the process will erase its contents. You can back up data easily using Windows File Explorer by copying and pasting files to another storage location or using backup software for a more comprehensive solution.
Using CMD to Create a Bootable USB
Opening Command Prompt
To begin, you’ll need to open Command Prompt:
- Search for 'cmd' in the Windows search bar.
- Right-click on Command Prompt and select Run as administrator. This is essential as many disk operations require elevated permissions.
Identifying the USB Drive
To identify your USB drive in CMD, you will use the DiskPart utility:
diskpart
Once you’re in DiskPart, list all connected disk drives by typing:
list disk
Make sure to take note of the disk number assigned to your USB drive.
Selecting and Cleaning the USB Drive
Once you've identified the USB drive, you can select it and clean it. First, replace `X` with your USB disk number:
select disk X
clean
The `clean` command removes all partitions and data from the selected disk, preparing it for new partitioning and formatting.
Creating a Partition on the USB Drive
To create a new primary partition on your USB drive, execute the following command:
create partition primary
This step sets up the drive for boot functionality by dedicating a primary partition for boot files.
Formatting the USB Drive
Next, format your USB drive using the FAT32 file system, which is widely compatible. Use the command below:
format fs=fat32 quick
The `quick` option speeds up the formatting process, but if you want a thorough cleaning, you may omit it to perform a full format.
Setting the USB Drive as Active
To make the USB drive bootable, you must mark the partition as active:
active
This step signals the BIOS/UEFI that this partition contains bootable programs.
Copying the Boot Files
After successfully setting up your USB drive, you need to copy the necessary boot files from a source location, typically an ISO file or a location where the installation files for the OS reside. Use the `xcopy` command for this task:
xcopy E:\*.* F:\ /s/e/f
Here, replace `E:` with the drive letter of your source (where the OS files are) and `F:` with the drive letter of your USB. The `/s/e/f` options ensure that all subdirectories and files are copied properly, preserving the structure necessary for booting.
Testing Your Bootable USB
Setting BIOS/UEFI to Boot from USB
Now that your USB drive is created, it's time to test it. Restart your computer and enter the BIOS or UEFI settings (usually by pressing `F2`, `F10`, `DEL`, or another key right after powering on). Look for the boot menu options:
- Prioritize USB booting over the default hard drive.
- Ensure that Secure Boot is disabled for older operating systems that may not support it.
Booting from the USB Drive
With the USB properly set up in the BIOS/UEFI, save and exit the setup. Your computer should now attempt to boot from the USB drive. If successful, you’ll see the OS installation screen or the recovery/environment setup.
Common Issues and Solutions
CMD Errors During USB Creation
Sometimes, errors may occur during the process. Common command errors include:
- "The system cannot find the file specified." - Ensure the source path is correct.
- "Access denied." - Make sure you're running CMD with administrator privileges.
Compatibility Issues
If your computer does not boot from the USB, check for compatibility issues. Ensure the file system used is appropriate for your target BIOS/UEFI settings. For example, older systems work best with FAT32, while newer ones may handle NTFS.
Conclusion
By following the steps outlined in this guide, you now have the knowledge to create bootable USB drives using CMD effectively. This method not only enhances your CMD skills but also opens up a world of possibilities for software installations and troubleshooting.
Call to Action
Explore more CMD topics and become a master of command line tools. Share this article with others interested in improving their skills in CMD and creating bootable USB drives effortlessly!
